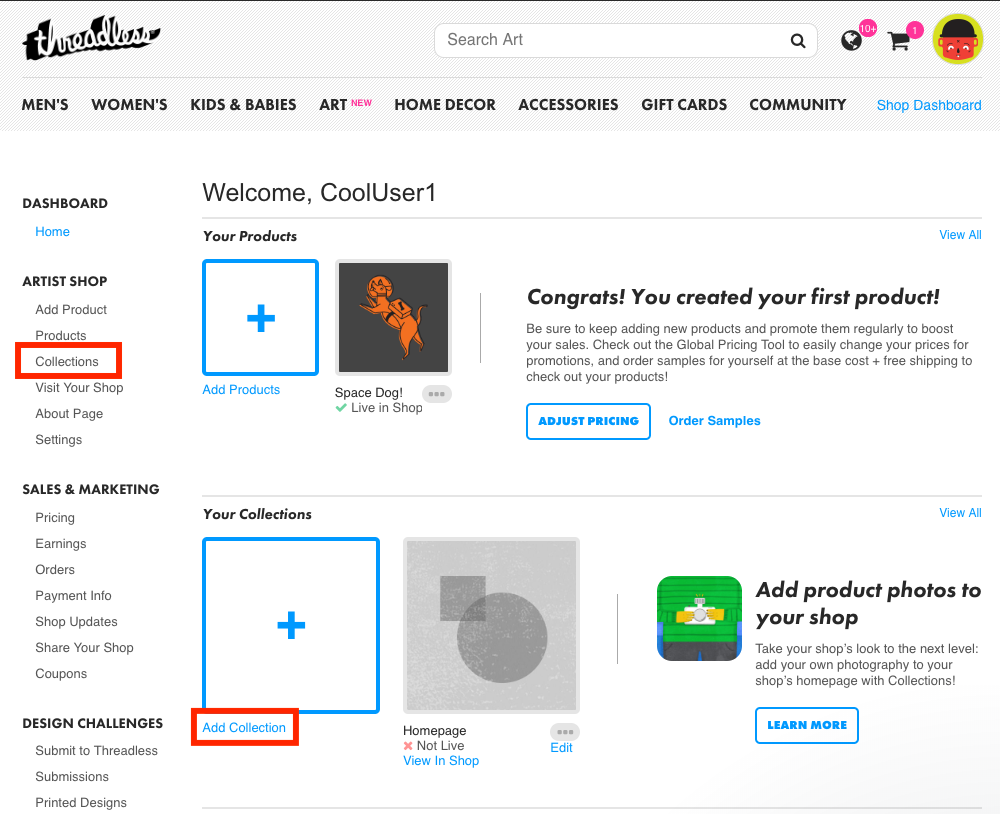
Creating A Design Collection
With the Collections tool in your Artist Dashboard, you can not only curate a collection of designs- you can also pick to show designs or actual products with your designs. Show just designs, just products, or mix and match to merchandise collections within your Shop exactly how you want.
You can use Collections to:
- Create sets of work into themes, products, genres, categories, or styles
- Highlight sale or seasonal designs or items.
- Choose a default display image and cover image.
- Choose the order the items in your collection are displayed.
- Easily change, remove, add collections to keep your Artist Shop content fresh.
- Add a description and tags for each collection
To start,
Step 1: Enter Collection Details
Start by adding a Name for your Collection, along with a Description. The Description is the meta description that describes your Collection in browser results. You can also choose to add a Banner Image (800 x 350px JPG / PNG), which will display on your individual Collection page, and a Card Image (500 x 500px JPG / PNG), which will display on your Collections catalog page in your Artist Shop. Enter the Collection information as desired and select Save Details.
Keep in mind, special characters are not allowed in your Collection Name (the Collection name is also used for your collection's URL) and there is a max of 500 characters in the Collection Description.

Step 2: Add Designs / Products to Your Collection
Under Add Designs / Products to Your Collection, use the drop-down to select the design that you'd like added to your Collection. Keep in mind, only visible designs are available to add to Collections. If you don't see a design, make sure you have it marked as 'Visible' instead of 'Hidden' on the Products page. Now that you have your design, pick whether you want to show the design as an image or on a product.
Show Design as

Show Design on a

Use the same steps to add more designs or products to your Collection.
Step 3: Arrange Your Collection
Once you've added in all the designs or products you'd like to feature on your Homepage, reorder by dragging and dropping them in any way you choose. Hit 'Remove' to take any products or designs out of the collection.

Once you have everything just the way you like it, click Ready to Publish, confirm, and you’re done. It's that easy!

Check out the Creative Resources blog for more information about setting up your Homepage Collection