Adding Custom Lifestyle Photos of Products
Let your customers see your Artist Shop products in real life with Custom Lifestyle Photos! This feature allows you to add your own custom photos to your Homepage Collection or on any other Collections with just a couple of clicks!
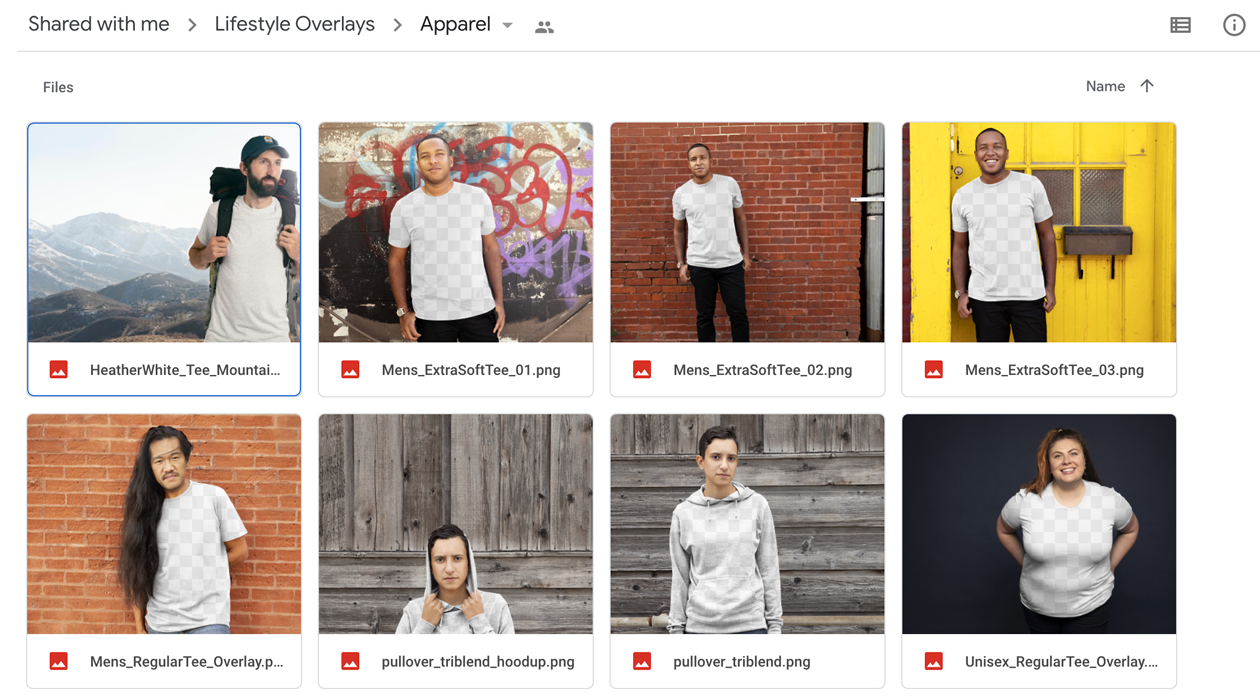
To help you get started, we've collected several of our own Lifestyle overlays here that you can edit your designs into using software such as Adobe Photoshop or GIMP. Just add your art files to our professional images to show off your Apparel, Greeting Cards, Wall Art, and more. Want to take your own? Just order some samples and then check out our Creative Resource on How to Take Lifestyle Photos.
How to Add Your Designs to Lifestyle Overlays
1. Go to our lifestyle overlay collection and download a transparent overlay image that fits the aesthetic of your shop.
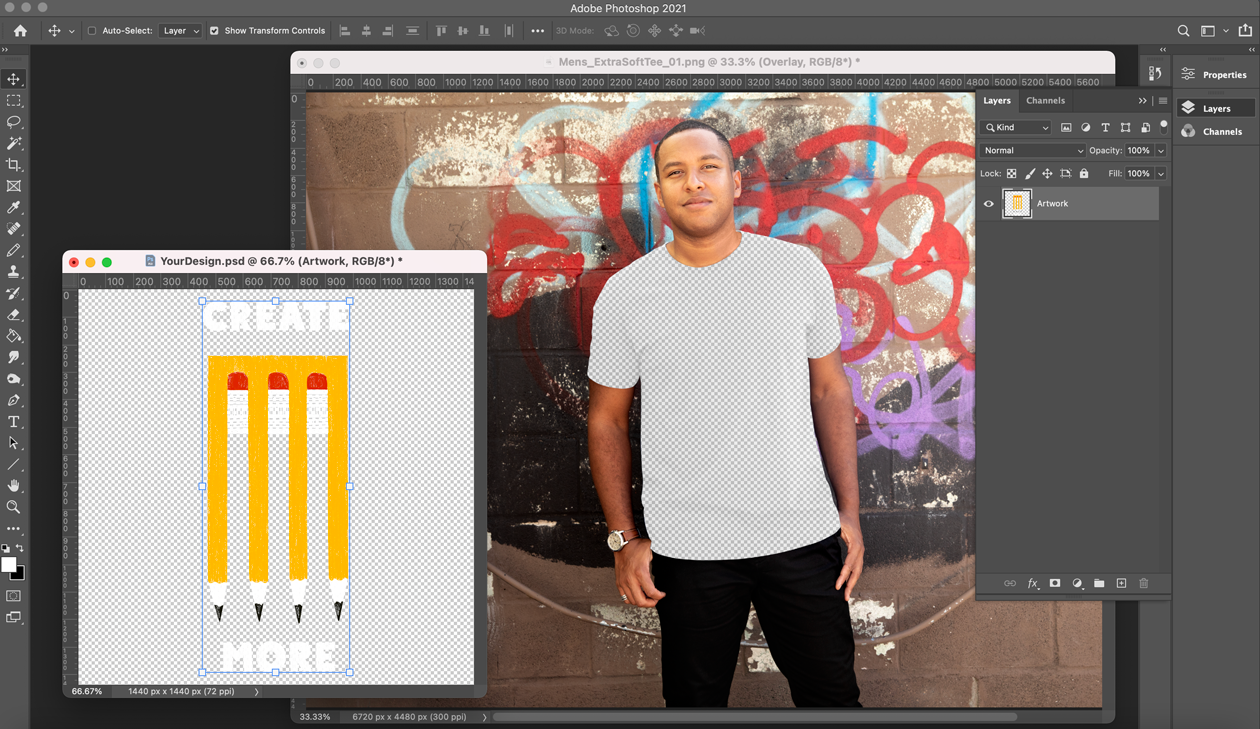
2. Open the lifestyle overlay image in Photoshop (or an open-source equivalent like GIMP), as well as the design image you want to add. Make sure your design has a transparent background so it’ll blend seamlessly into the garment color. Copy and paste the design into the lifestyle overlay as its own layer.
3. Next, find a garment color that’ll look good with your artwork. Go to your Artist Shop and look at the colors you’ve made available for the design and product you’re featuring. When selecting a garment color, consider the overlay’s background colors, the lighting, and other factors to make your final image look as cohesive as possible.

4. Pull the color value from your selection and use it to fill a background layer behind your design. Notice the “Apparel color” layer in the screenshot below.
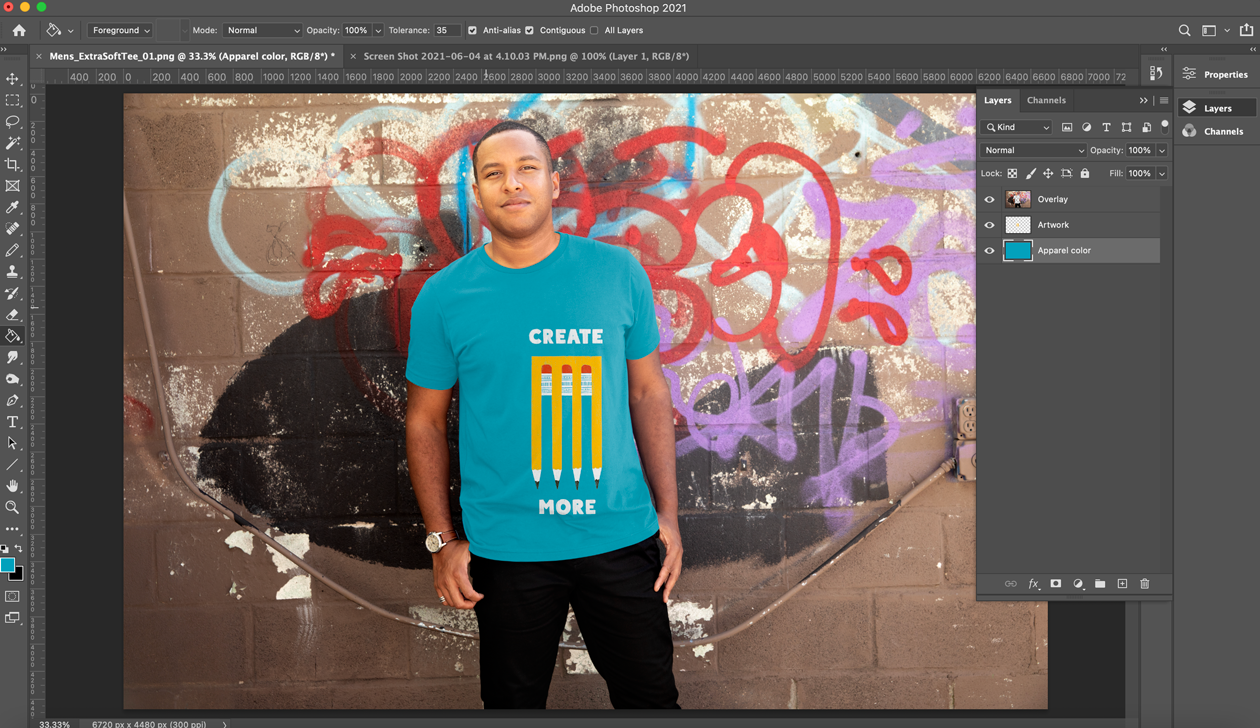
5. Now it’s time to adjust your design placement to ensure it looks realistic and accurate. Move, scale, and rotate as needed until it feels correct. Then, crop the overall image, keeping in mind whether or not you’d like the model to be centered or off-center. Once you’ve adjusted everything to your liking, save the image as a JPG. You’re done!
How to Add Your Lifestyle Images to Your Homepage
1. Once you have your Photos, you can add them from your Collections page by choosing the Homepage collection or creating a new one.

2. Then scroll down to Step 2: ADD DESIGNS/PRODUCTS TO YOUR COLLECTION and choose a Design you want to add. Once selected, you can just click on the upload your own image to link to add your custom photos.

3. Then you can arrange the order of products and photos to personalize your Shop!

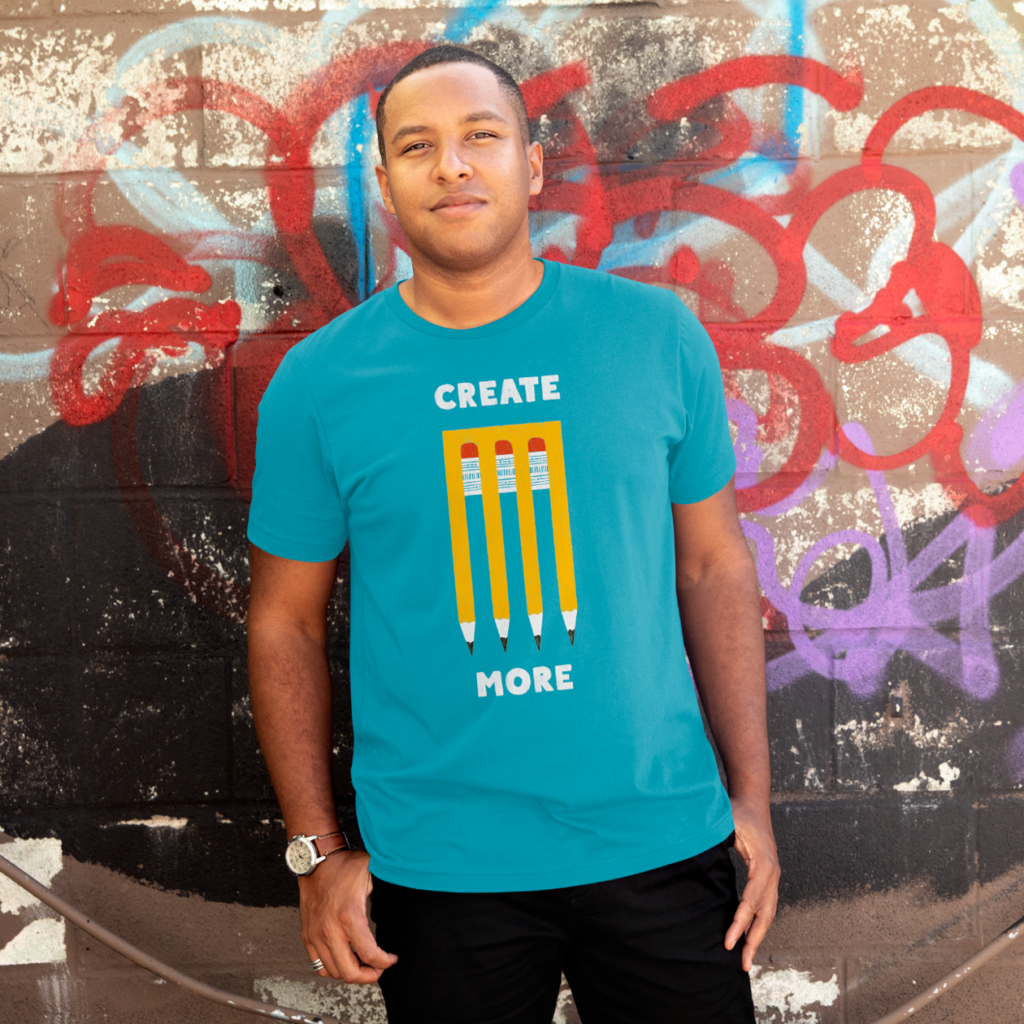
Homepage and Lifestyle Photo Examples
You can use the photos you've added with custom Shop colors and a banner image to make a great first impression!
