Design 101: Making a Transparent PNG
Turning your Artwork into a Transparent PNG from a Scanned Image
It’s time to get your artwork print-ready. The best way to do that is to create a Transparent PNG of your design. This means that you knock out the background of the design so that 1) it can be used across an array of colors and 2) only your design prints on the canvas and not a big box surrounding it.
- Simple and Clean Artwork : Artwork that has thick bold lines and is not heavily detailed
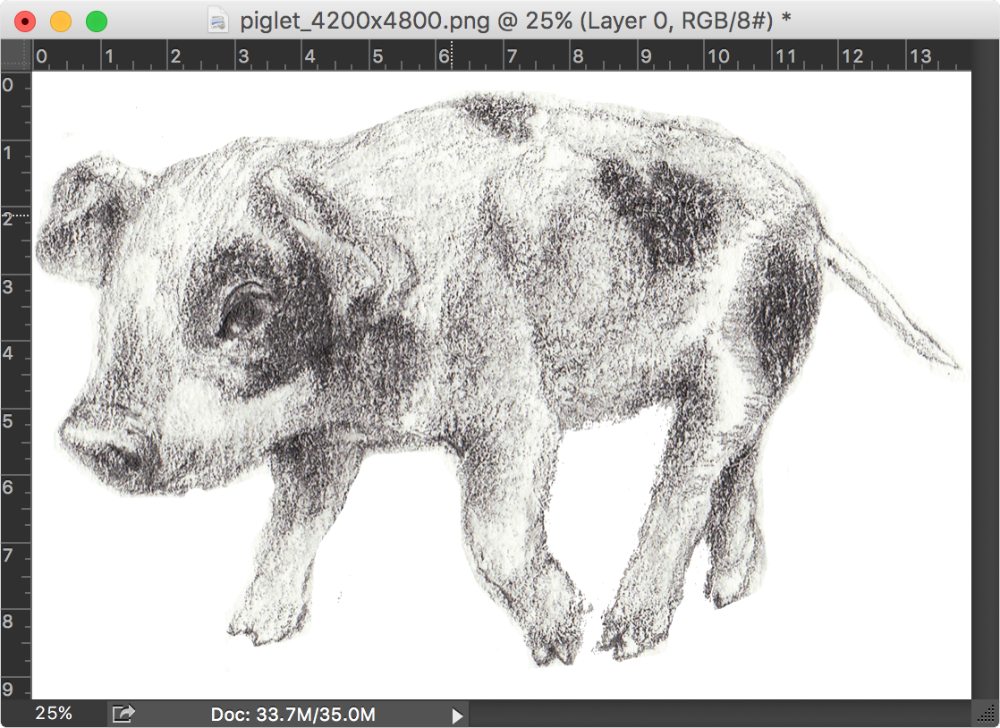
- Illustrations : Intricate artwork, such as pen or pencil line drawings
- Colored Art / Watercolors : Paintings, artwork done with traditional media (i.e. watercolors, graphite, colored pencils etc.)

It’s important that you scan in your artwork at 300dpi for highest quality. In the example below, you’ll see that sometimes a scanner can wash out your linework and give a faded tint to the paper. For best results, adjust the Levels (Image > Adjustments > Levels in Photoshop) to bring out more black in your artwork and white in the paper.
Simple and Clean Artwork

- Import your scanned artwork into Adobe Illustrator and do an Image Trace (Object > Image Trace).
- Check ‘IGNORE WHITE’ box in the Image Trace Window (under ‘Advanced’). The white background will disappear.
- Once you are satisfied with how this looks, expand the object to finish (Object > Expand).
Now that it’s expanded, you will be able to manipulate the color of the object if needed.

Illustrations

- Adjust the Image Levels in Photoshop (Image > Levels) to your liking.
- Go to Channels, right click 'Blue' Channel, and press ‘Duplicate Channel’. A ‘Blue Copy’ Channel should appear.
- Turn on this Channel (eye to the left) and turn off every other Channel.
- Select the new copy, and invert the Layer (Image Adjustments > Invert or ⌘+I on Macs). You’ll see the Layer become inverted.
- Go to Select > Load Selection and hit OK. You'll see flashing dotted lines surrounding your illustration.
- Go back to Layer. Create a new Layer and simply fill with any color with the paint bucket. You should see your illustration as a separate layer from its background.


Colored Art / Watercolors

Artwork by Betsy Lam
- Adjust the Image Levels (Image > Adjustments > Levels) so that the background gets as close to white as possible, as well as your colors being nice and saturated. This is also a method you can use to remove some of the paper texture that the scanner picks up.
- Go to Channels, right click 'Blue' Channel, and press ‘Duplicate Channel’. A ‘Blue Copy’ Channel should appear.
- Turn on this Channel (eye to the left) and turn off every other Channel.
- Select the new copy, and invert the Layer (Image Adjustments > Invert or ⌘+I on Macs). You’ll see the Layer become inverted.
- Go to Select > Load Selection and hit OK. You'll see flashing dotted lines surrounding your illustration (You’ll need to invert this layer if your background is black).
- Go to Layers, and click on your drawing. Press Delete, and you should see the background erase from your design.


You will, however, notice that by pulling out the background you lost some saturation/volume in the design. The easiest solution to this is to duplicate your layers 2-3 times. You’ll notice your design saturate itself back to life. You can also tweak some of the layer styles to saturate the colors more. Don’t do any more than 3 times as you have the potential to add extra noise you don’t want.

Pro-tip: Create a background layer below the layers either in white or your desired t-shirt color to check your transparencies.
Best suggestion, especially for watercolors, is to keep them on lighter canvas colors (i.e. white). White is a great choice because no underbase is needed. When you get into super complicated watercolor art files, you have a chance of the underbase showing through on darker garments. Also important to note, when pulling out the white from colored illustrations, you might pull out white from areas you intended to be white – so always double check your work and make sure you add that back!
