Step 1. Getting Everything Ready
So you want to open an Artist Shop but aren’t sure how? Here are the first steps in getting started.
The first thing you’ll need to do before you can get your Artist Shop going is to create some actual products to sell. That means gathering your designs and outputting them in the right format for printing. The good news is this is easy and we have some things that can help you out along the way.
#1. Gather your designs for your first Shop Products
- Stay organized and use a folder structure you'll understand and be able to come back to in years to come.
- Name your files in a logical way. This will make it easy to come back to your work.
TIP: Don't be afraid to use existing work. What might be old to you is new to your customers. The important thing is getting a shop going and updating it over time.
#2. Prepare and output your artwork
- Guidelines For Getting Your Files Ready. Read this First!
- How to design specifically for DTG Printing when making new work.
- Here are all the Downloadable Templates for Photoshop and Illustrator
#3. Create Products
- Login to your Artist Shop to start adding your designs to create products.
- Make sure to choose colors that work well with your design image. Designs that are the same color as the tee might not show up when printed.
- Decide if you want to opt-out of Managed Pricing and Promos to set your own prices.
- Use Tags to help customers find your designs while using search engines.
#4. Customize Your Home Page
- Upload a Logo That Adequately Represents Your Brand - In order for your shop to look professional and complete, you should absolutely upload a logo to replace the Shop name. Much like a band logo, your shop logo should capture your unique style and vibe. When your visitors look at it, they should be able to sense the tone of your art. For more pointers on creating an awesome logo, refer to this Creative Resources post.
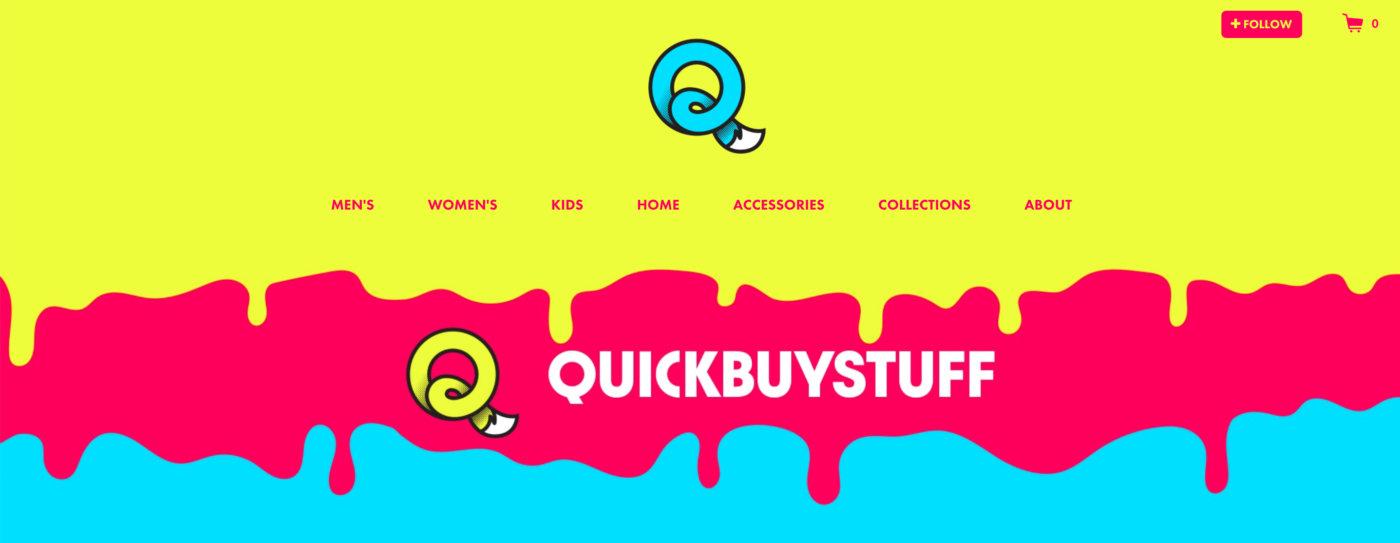
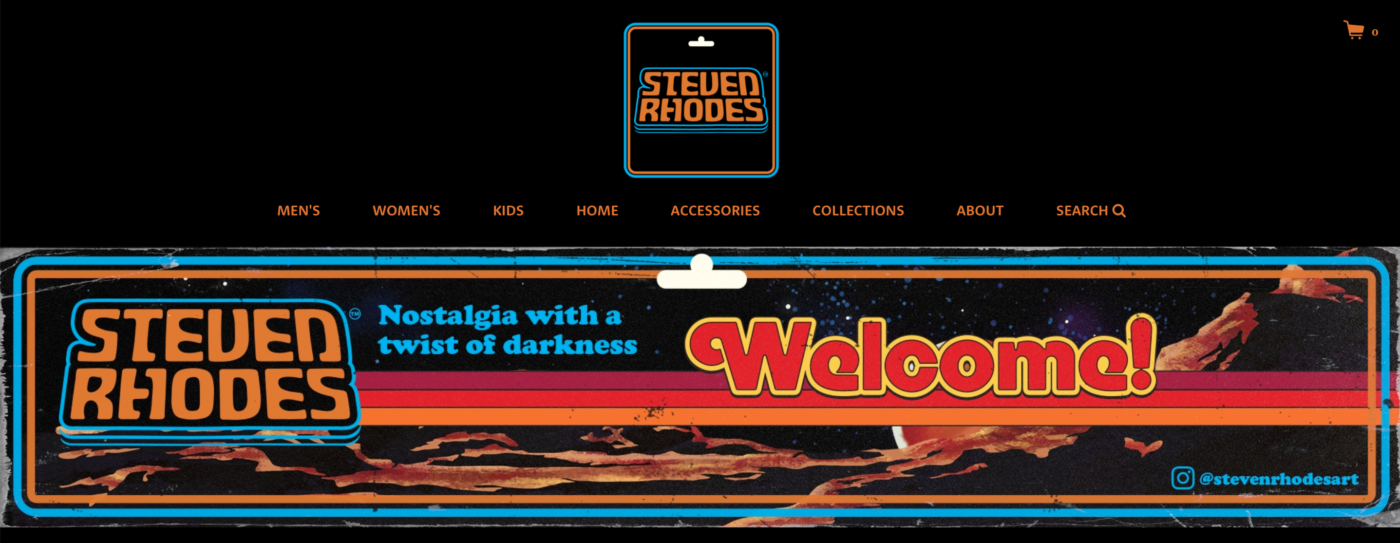
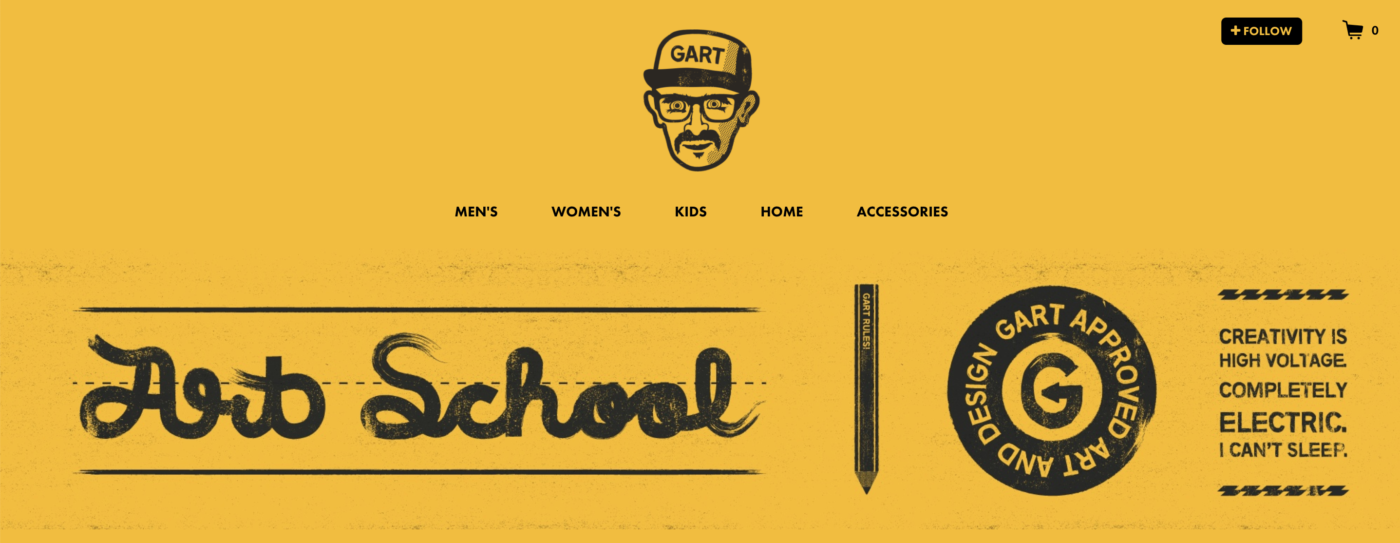
Here are a few logos that do a great job of setting the tone for their corresponding Artist Shop:
PRO TIP: Each of these logos incorporates the shop’s background color for a seamless appearance.
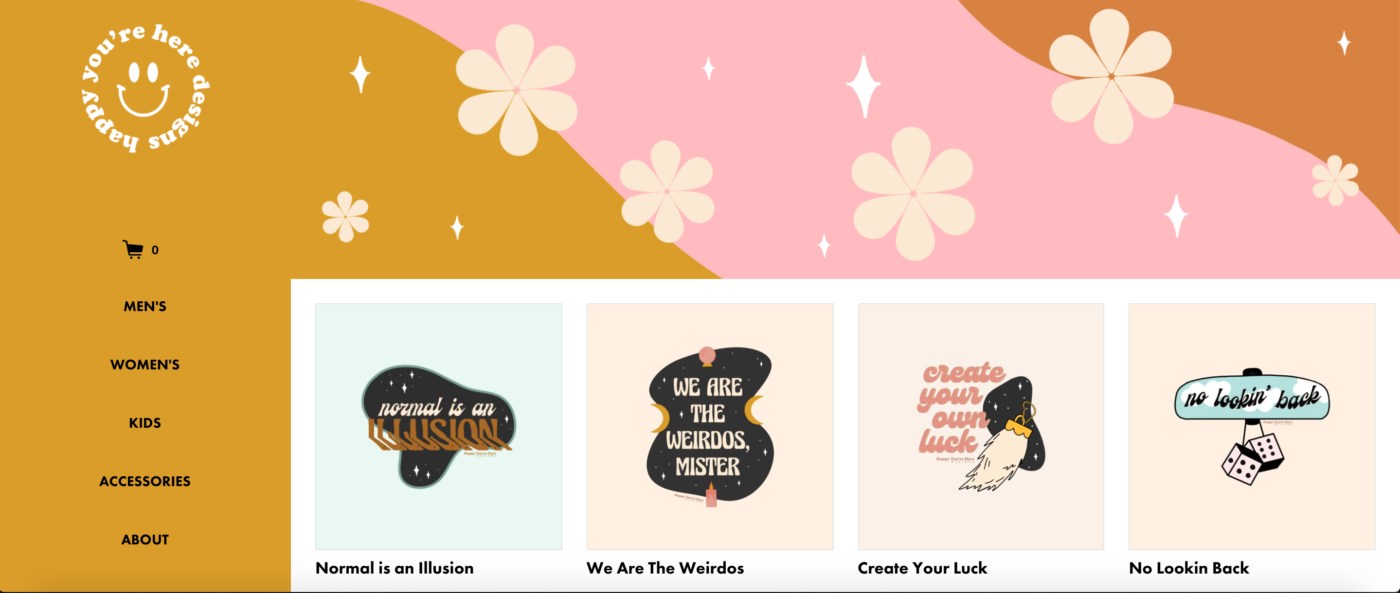
- Tie Everything Together with a Custom Banner- The banner in your Artist Shop is one of the most versatile elements of your homepage. Our recommended banner size is 2000×400 pixels, which means you have plenty of room to reinforce the look and feel of your brand. In addition to enhancing your shop’s aesthetics, you can also use this space to communicate promotional details such as “Discounted Shipping Available” or “All Regular Tees Only $14.” We’ve broken down a few strategies for making a custom banner that looks damn good.
- Consider making a banner that seamlessly blends into the color palette of your shop’s background. This gives your shop a sleek, cohesive look rather than appearing pieced together. Refer to our help page to learn how to adjust your shop’s color palette.
- Speak to Your Audience - As previously mentioned, the banner is a great spot to share useful information that your customers might otherwise miss. That info could include anything from sale reminders to your social-media handles. Below is a great example of the multiple ways you can utilize text.
- Keep it Simple - You don’t have to recreate Michelangelo’s The Creation of Adam for your custom banner—unless you want to. In fact, sometimes the simple route is the way to go. The important thing is to create a banner that visitors can easily associate with your brand. The banner should also make visitors curious enough to scroll down to your homepage collection.
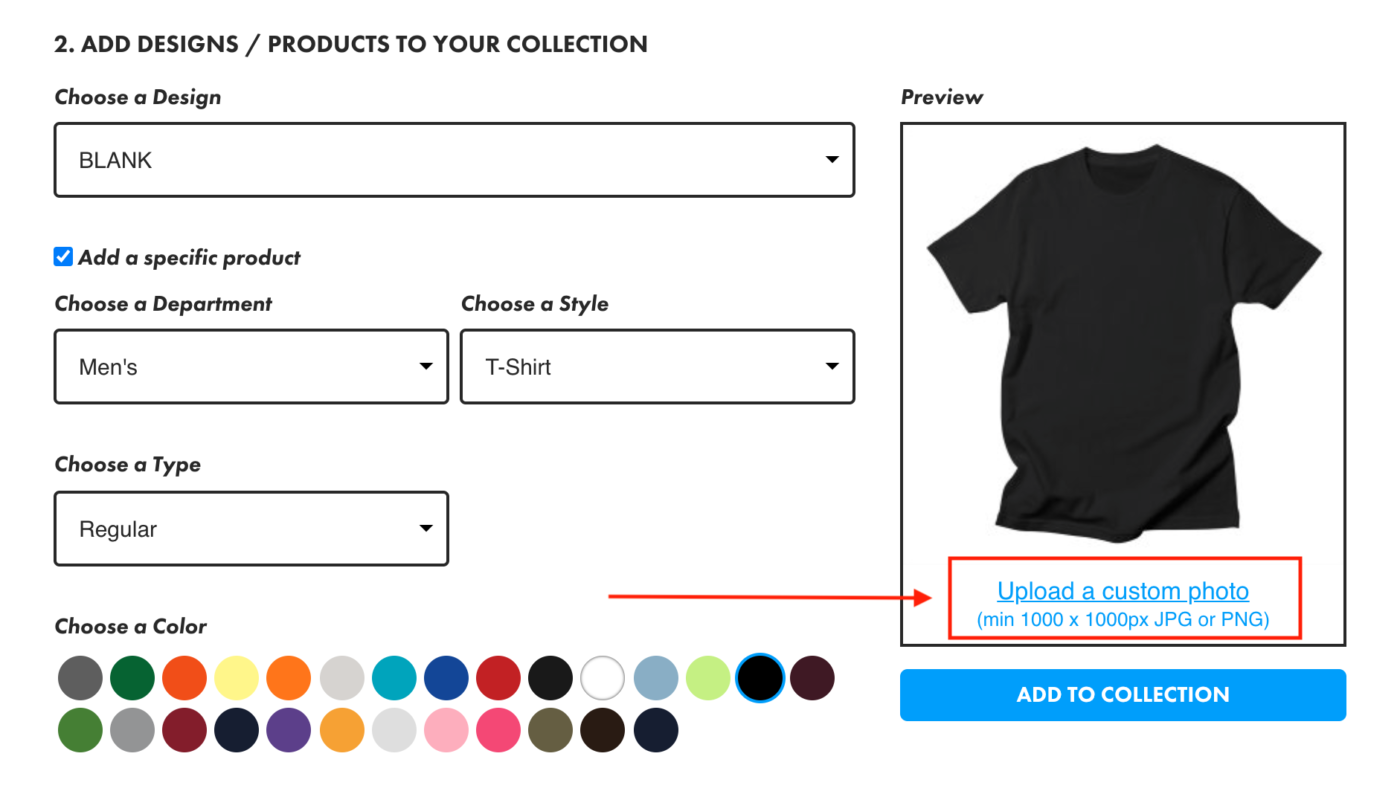
- Let Your Products Shine in a Homepage Collection- increase conversion with how you display your products on your homepage. From your Artist Dashboard, you can create a Homepage Collection featuring whichever products and designs you want to promote on your homepage. Click here from a step-by-step tutorial.
In the Homepage Collection builder, you can also upload a custom photo for each of the products you feature on your homepage:
To really attract the attention of your customers, you should mix things up on your homepage with a variety of custom images. Here are few types you should consider:
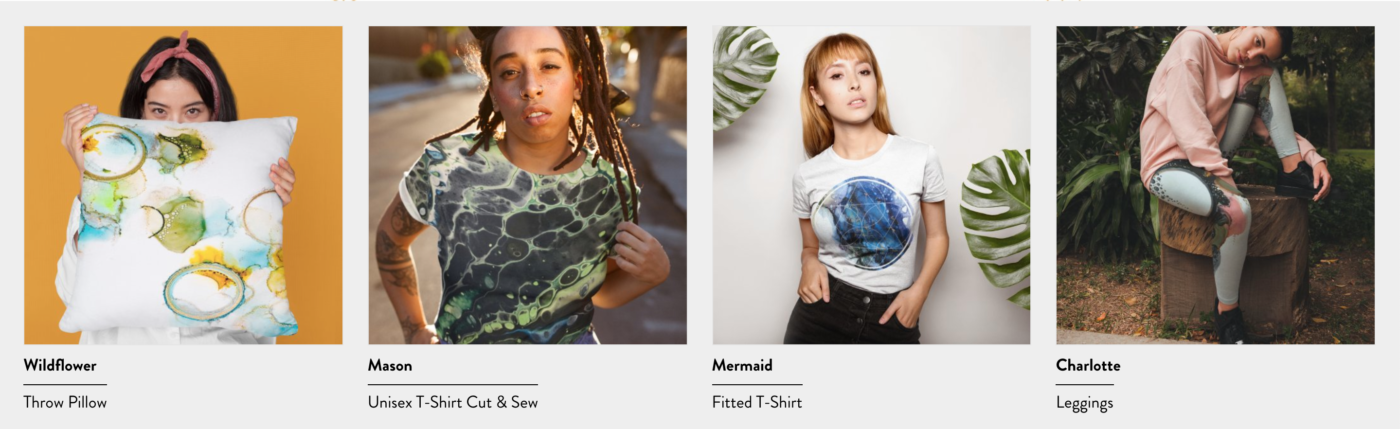
Lifestyle Photography
According to a survey conducted by BigCommerce, 78% of online shoppers want products to be brought to life with images. Seasonally relevant lifestyle photography enables customers to envision how your products will fit in their everyday lives, and can motivate them to make a purchase. Don’t have a state-of-the-art camera and access to a professional studio? That’s okay! All you really need is a subject, some good lighting, and your smartphone. Refer to our Creative Resources post on how to take awesome lifestyle photos with your phone.
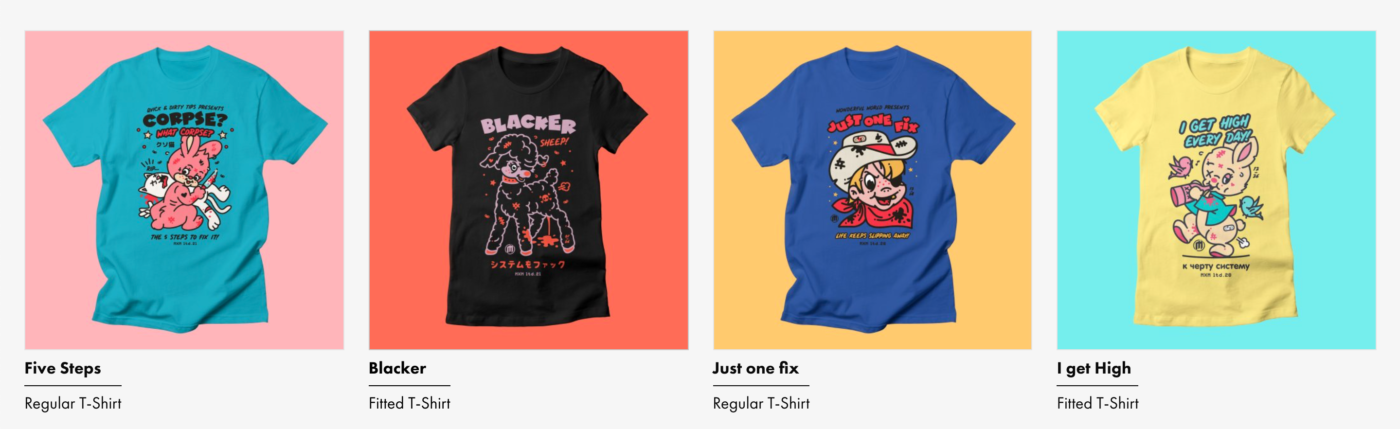
Flat-Lay Photos
These are simply photographs of your products laying on a flat surface from a bird’s-eye-view perspective. This style of photo allows the print design on your products to be the main focal point. Experiment with different color backdrops to complement your shop’s color palette for an even more cohesive look.
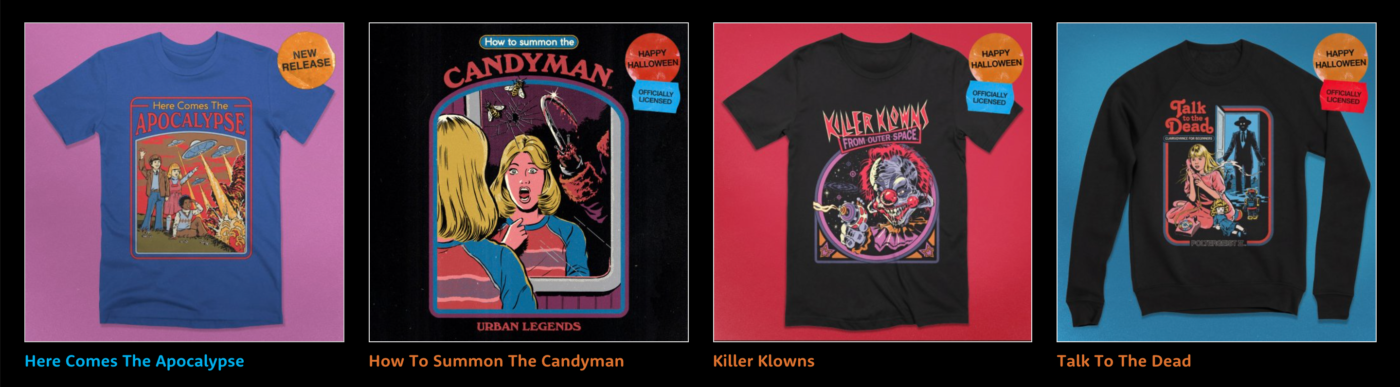
Promotional Images
To build a sense of urgency in your customers, consider adding promotional overlays to your custom images to call out new designs, products that are on sale, and other exciting details. The Promo Tools feature in your Artist Dashboard enables you to easily download images of your products with commonly used promotional overlays, though the example below goes one step further and added custom stickers. Imagine the possibilities!
- Publish Your About Page- there are several reasons why you should add your About page. “People buy from those they like and can relate to,” said sales trainer Adrian Miller in Entrepreneur. Revealing a little about yourself in a well-written About Page can humanize your brand. If customers feel like they know you, there’s a better chance they’ll purchase from your shop. Aside from sharing your story, an About Page can also increase traffic to your shop, and direct your customers to your social-media profiles. Increasing your shop’s internet presence is always a good thing!
- Once you update and publish your About Page, a link to it will appear in your homepage’s navigation menu. Easy as pie!
#5. Build your SEO
-
Putting your designs out there without solid SEO can be like fishing without bait – it may be harder to get a bite. Make sure you're making the most out of your Artist Shop's SEO
- Fill out your Your Shop Metadata Description
- Create and publish Your Shop About Page to allow fans and followers to get to know more about you and share your social links to encourage even more engagement.
- Tagging your Designs to ensure your content is more easily discoverable, especially if your products are included in the Threadless Marketplace!
- Write a Product Meta Description and Product Description for all of your designs
#6. Add Tracking and Publish your Artist Shop
- Go to your settings and update your shop name and optionally add in Google Universal Analytics and the Facebook advertising pixel.
- When you're feeling pretty good about how it all looks click the Publish Now! button.
#7. Gather Some Feedback
- Send out your Shop link to select friends and family and ask for feedback.
- Join the Threadless Artists Discord group or forums to ask fellow Artist Shop owners for advice. Our community is full of artists who are willing to help you figure out what’s not working.
- Tweak and change up your shop based on what you're hearing back.
Now read on to Part 2. Release it to the World.